
Recipe: Simple & Delicious Bone-In Rib Roast
Disclosure: I was sent meat samples from meatme.ca for this recipe. All opinions and images expressed are my own.
Whew! How is it December already? The holidays are creeping up on us and for me, it’s all about spending quality time with family and friends especially over a fine dinner feast. I’m so lucky that my entire family enjoys the process of creating an (Instagram-able) spread together and since Kev has been giving me serious cooking classes — the years ahead are just looking tastier.
Whether you’re an experienced cook (Kev) or have a hard time peeling carrots or chopping onions (me), this is a simple and fool proof way to a delicious roast for beginners in the kitchen. We’ve tested this together and we’re confident that this will up your prime rib game and impress all your friends.
This recipe is adaptable to any bone-in rib that you can get your hands on but I recommend paying attention to where you’re sourcing your meat and considering a meat supplier who values animal welfare and environmental impact like meatme.ca — they only partner with local farms in BC who are committed to the highest standards of animal welfare and wellbeing from birth to market. They even go the extra mile to make sure everything is A-OK with their regular site visits. Best of all, meatme delivers their beautiful ethically raised, grass fed meat directly to your door! This is a total GAME CHANGER since everyone’s schedules seem to be insane these days. 10 points for convenience. OK —— if you’re ready to tackle your bone-in rib, let’s jump into the recipe!
The day before:
First, it’s important to prep your prime rib at least a day in advance. Take a dry paper towel and lightly dab the surface of the meat to remove all excess juices. Season the roast very generously with salt all over (no pepper yet) and place it on a rack uncovered in the fridge, let the bad boy rest overnight. This step is very crucial and should not be skipped! This dries out your roast for a better browning and also allows time for the salt to really penetrate deeply.
The day of:
On game day, preheat your oven at the lowest temperature possible — we will explain why shortly. In our case it’s 150F, but most ovens are between 200-250F and that’s perfectly okay. While the oven is heating up, take the roast out of the fridge and let it sit on the kitchen counter for at least 30-45 mins. This gives the meat some time to warm up. You never want to throw a roast in the oven straight from the fridge — this will cause the meat to cook unevenly. Take this time to season your roast again, with both salt + pepper this time.
The “Reverse sear method.”
Here is where it gets a little interesting. After a few cooking mishaps and plenty of experimentation, we have learned that traditional roasting methods are a thing of the past. We have adapted this new technique known as the “reverse sear method.” Rather than starting the roast at a high temperature and finishing it off on a medium-heat, we are going to do the complete opposite. The traditional method theories on the premise that a high temp will seal in all the juices and then once an exterior crust has been formed the meat will cook slowly on the inside. This works, but the downside is that you’ll end up with much more grey, well done edges on the roast that we try our best to avoid. The reverse sear method prevents this! You will find that not only does your roast have a perfect medium rare centre, the grey edges are dramatically reduced.
Your roast (size depending) should take about 3–5 hours (or less if you own a convection oven). A instant-read thermometer will be your best friend at this point. When you poke into the centre of the roast and it reaches 110F, cover the roast loosely with aluminum foil then crank up the oven to it’s highest setting. 500F would be ideal but the broil setting also works. Watch your roast very closely at this point, you’re almost there! It will only take another 5-10 minutes at most.
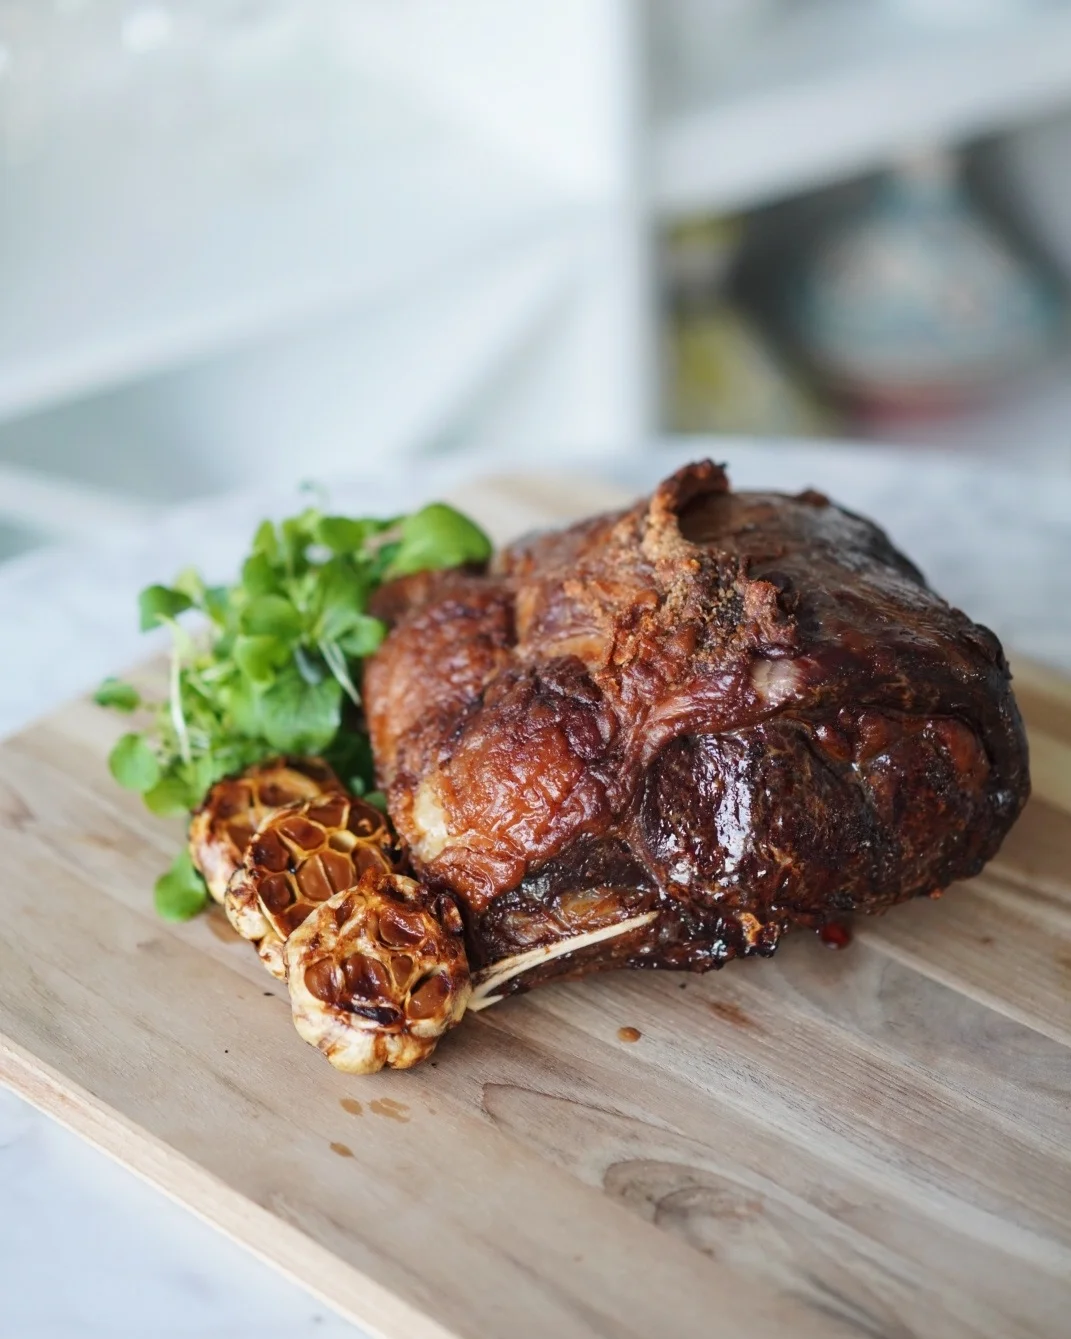
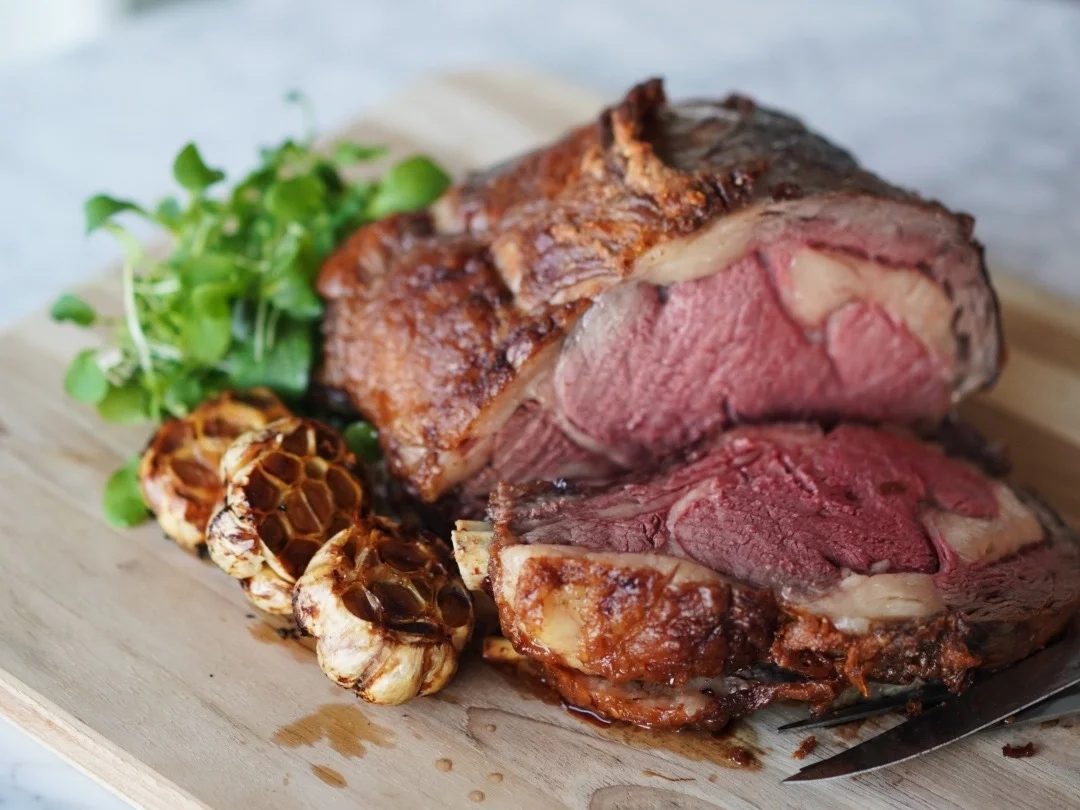
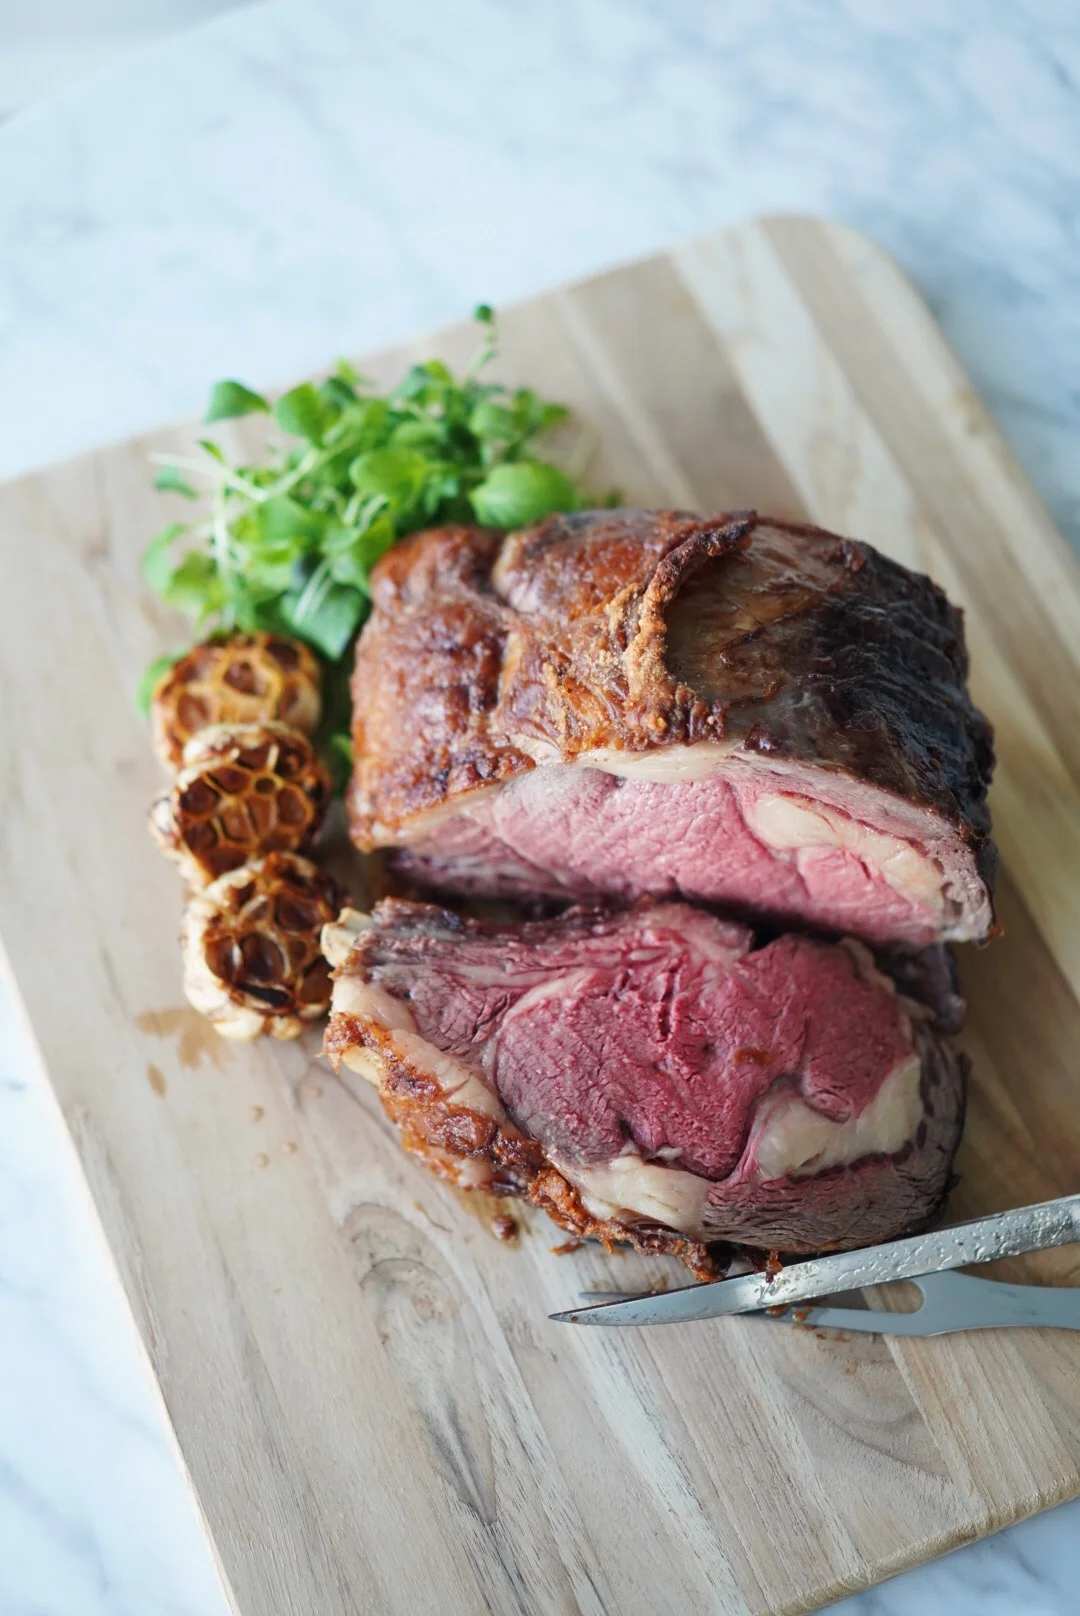
Once your roast develops a nicely browned crispy skin, you’re done! You’ll be tempted to eat it right way, but patience is key! Like all steaks, a little rest time is crucial for all the juices to settle — a good 20-30 minutes is recommended. For us, that’s just enough time for a little photoshoot (yenno what I’m sayin?) with a side of wine. Real talk though, this is also the perfect moment to finish off your sides and whip up a tasty sauce with all those pan drippings. This isn’t mandatory, but if you want to be extra careful (or just simply for research), 120-125F is what you’re looking for after resting — a rare to medium rare.

So there you have it! A simple & delicious bone-in rib roast in just a few hours. If you do attempt this recipe, please tag and share your pictures with me! I’d love to see all your beautiful roasts. On that note — hope your holidays are filled with fun festivities & all the eats!
XOXO.
Steph
@candycomplex - @stephwants - Twitter - Facebook - Snapchat - YouTube
(thanks for the assist @whatscookingkev)